

Seal First, Insulate Second

Before the how-to, the reason. Insulation slows heat moving through a surface. It does nothing about air moving through a gap, and on most Florida garage doors more than a few years old the gap is the larger problem. A bottom seal that has gone hard and taken a permanent set stops conforming to a slab that was never perfectly flat, and the result is a continuous slot the width of your door.
That makes bottom seal replacement the highest return per dollar available on a garage door: usually under $40 in parts against a gap measured in feet. The broader comparison against panel insulation kits is in garage door insulation DIY vs pro. This article is about doing the seal itself.
The Twenty Minutes, and the Part That Is Not Twenty Minutes
Honest framing, because the internet is not honest about this. Once you have the correct seal in your hand, threading it takes roughly twenty minutes with a helper. First-timers should budget 30 to 45 minutes for the whole job including cleanup, and most of the extra time goes into cleaning a channel that has twenty years of grit packed into it.
The part that blows up the schedule is buying. Nearly every wasted trip traces to the same mistake: buying by door width alone and ignoring the retainer profile. Fix that first and the rest is genuinely a short job.
Identify Your Retainer Before You Buy Anything
The retainer is the aluminum channel bolted along the bottom of the door. The seal slides into it, and the shape of that channel decides which seal fits. Open the door to about waist height and look up at the underside of the bottom bar.
- T-style, double channel: two parallel slots, and the seal has two T-shaped beads that slide in, one per slot. This is the most common modern configuration and is available in vinyl and rubber in 1 inch, 1.5 inch, 3 inch, 4 inch and 6 inch widths. If you see two distinct grooves, you are almost certainly here.
- U-style or bead: a flat piece of vinyl or rubber with beaded edges that ride in tracks on the retainer, forming a U shape that compresses against the slab when the door closes. Visually similar to T-style at a glance, and the bead cross-section is the tell.
- Bulb or P-style: a single channel with a round bulb hanging below. Common on older doors and on some commercial units, and it seals well against a slab with minor irregularity.
- No retainer at all: older wood doors sometimes have a seal nailed or stapled directly to the bottom board. That job includes installing a retainer, which is a different project than swapping a seal.
Photograph the end of the channel with your phone. That end-on cross-section photo is worth more at the parts counter than any description you can give from memory.
Three Measurements, Not One

- Door width. Measure the door itself, and buy 2 to 3 inches longer than that measurement so you have material to trim and a small overhang at each end. A seal cut exactly flush leaves two small gaps at the corners, which are precisely where water and insects enter.
- Retainer channel spacing. On a double channel, measure center to center between the two slots. This is the number that determines whether the beads engage, and it is the one people skip.
- Seal width, meaning how far it hangs down. A wider seal bridges a larger gap between the bottom bar and the slab. If you have a visible gap when the door is closed, going a size up is often the fix. If the door already compresses the seal hard enough to strain the opener, going smaller is correct.
Vinyl or EPDM in Central Florida Sun

Both materials are sold at every hardware store and the price difference is small. The performance difference in this climate is not.
- Vinyl resists ultraviolet and ozone well and holds its shape in stable conditions, which is why it is the default. Its weaknesses are the two extremes: it becomes brittle in cold and it tends to soften and stick in serious heat. A south-facing Florida door gets the heat end of that hard.
- EPDM rubber stays pliable across a range running from roughly minus 50 to 300 degrees, with strong weathering and ozone resistance. That flexibility across temperature is exactly what a seal needs to keep conforming to an uneven slab through a Polk County August.
- Service life is the practical argument. Standard rubber seals run about 5 to 10 years in normal use. Higher-grade EPDM is rated in the 15 to 20 year range and is specifically recommended for coastal and high-exposure applications.
For a door that faces direct afternoon sun, EPDM is the better buy and the price gap is small enough that it is not a close call. Salt exposure adds another argument, covered in salt air corrosion on Florida garage doors.
The Install, Step by Step
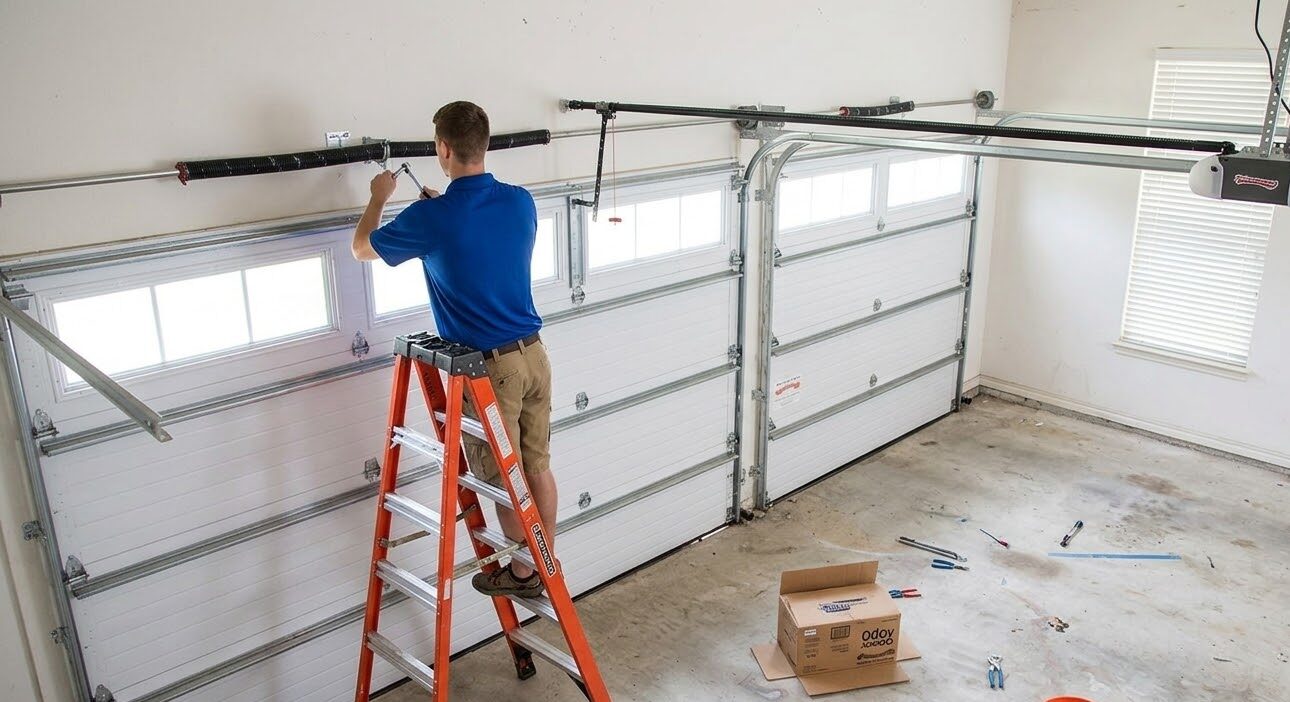
- 1. Raise the door to about waist height and secure it. You need access to the underside of the bottom bar, and you need the door to stay where you put it. If it drifts down on its own, stop and read the balance section below, because that is a spring issue and it is a safety issue.
- 2. Pull the old seal out from one end. Grab an end and draw it out along the channel. Old seals that have hardened may need to be cut into sections and worked out in pieces.
- 3. Clean the channel completely. This is the step that decides how hard step 5 is. Grit, hardened vinyl residue, insect nests and rust all live in there. A wire brush and a rag get most of it; a shop vacuum gets the rest.
- 4. Lay the new seal out in the sun for a few minutes. Warm material threads far more easily than cold material off a shelf, and in Florida this takes almost no waiting.
- 5. Lubricate and thread from one end. Dish soap in water, applied to the beads, is the standard trick. One person feeds the seal into the channel while the other pulls from the far end, keeping steady tension so the beads stay tracked. Do not fight it dry.
- 6. Center it and leave the overhang. Aim for roughly an inch past the door at each end, then trim with a sharp utility knife. Those overhangs are what close off the corner gaps.
- 7. Close the door and check the line. From inside with the lights off, look along the bottom. Daylight anywhere means either the slab is uneven at that point or the seal is undersized, and the fix is different for each.
The Five Things That Go Wrong
- Wrong bead profile. The most common failure and the least visible one in the store. A T-bead does not seat in a bead-style track. This is what the end-on photo prevents.
- Brittle or crushed retainer. If the aluminum channel is bent, corroded through or pulled loose from the bottom bar, no seal will hold. The retainer itself has to be replaced first, and that is where a DIY job legitimately becomes a service call.
- Threading dry. Without lubricant, the beads bind, you pull harder, and the seal tears or stretches. Stretched seal shrinks back over the following days and leaves you short at one end.
- Cutting flush with the door edge. Leaves an open corner at each side. Trim to about an inch of overhang instead.
- Treating an uneven slab as a seal problem. If the daylight gap is in one specific spot rather than along the whole run, the slab is low there. A larger seal helps, and a threshold handles it properly.
When the Seal Is Not Actually the Problem
Three conditions look like seal failure and are not, and replacing the seal on any of them wastes the part.
The door is not sitting level. If the bottom bar meets the slab on one side before the other, the seal compresses unevenly and the light gap appears on the high side. That is usually a cable or drum adjustment, and it is not a DIY item because it involves the counterbalance system. Ours is a balance adjustment visit.
The bottom bar is bent. Backing into a door, a jack stand left in the path, or years of impact leave the bar with a bow in the middle. The seal follows the bar, so a bowed bar produces a gap that no seal profile closes.
The door drifts when you stop it halfway. That is a spring balance symptom, and it matters more than the seal does. A door that will not hold position is working its opener beyond design and is the leading indicator of a spring replacement in the near future. Handle that first.
Threshold Seals: The Florida-Specific Case
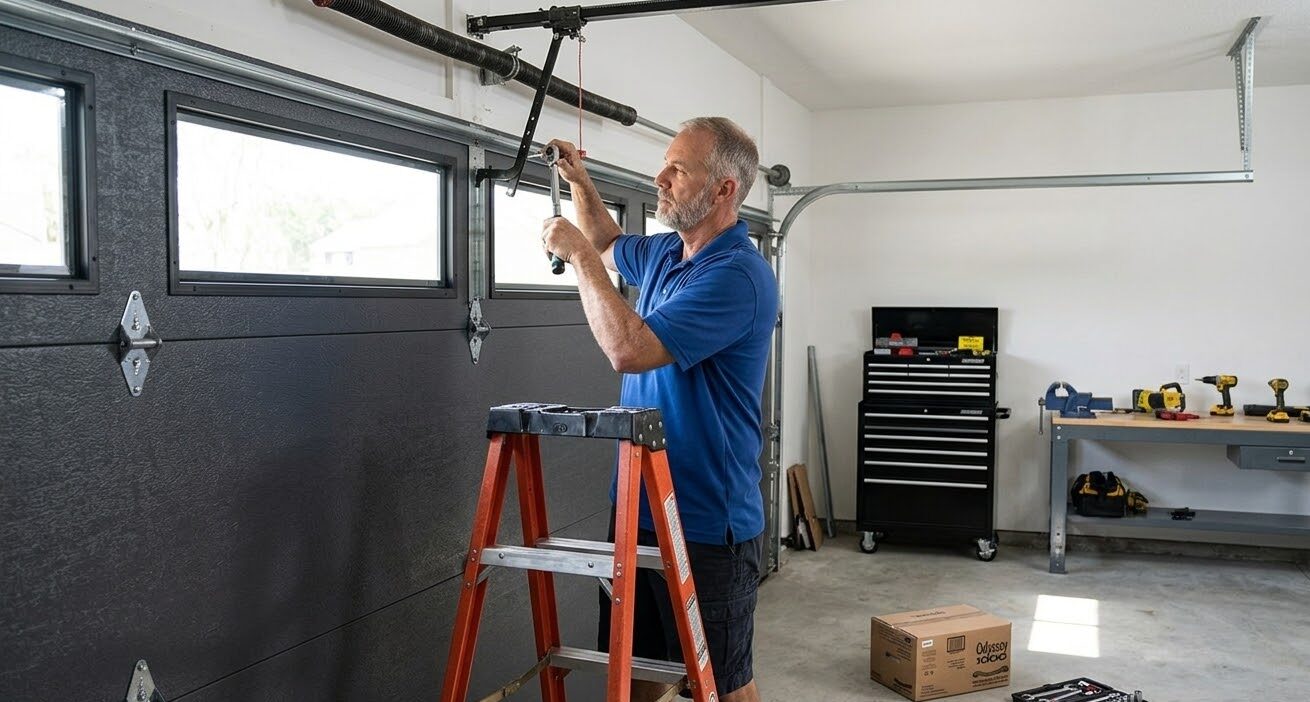
A threshold seal is a rubber strip bonded to the slab itself, just outside the door line, that the door closes down against. It is a second line rather than a replacement for the bottom seal, and in this market it earns its place more often than in most.
The situations that call for one are specific: a driveway that pitches toward the garage rather than away from it, a slab with a worn or chipped edge at the door line, a garage that has taken water during a heavy afternoon storm, or a low spot the bottom seal cannot bridge on its own. Central Florida delivers all four regularly, and a threshold plus a properly sized bottom seal handles standing water that either one alone will not.
The tradeoffs are honest ones. A threshold is a raised strip you drive and walk over, it makes sweeping debris out of the garage slightly more awkward, and it needs a clean, sound slab surface for the adhesive to bond. If the slab edge is crumbling, that gets fixed first.
The Sides and the Top Are the Other Half of the Gap
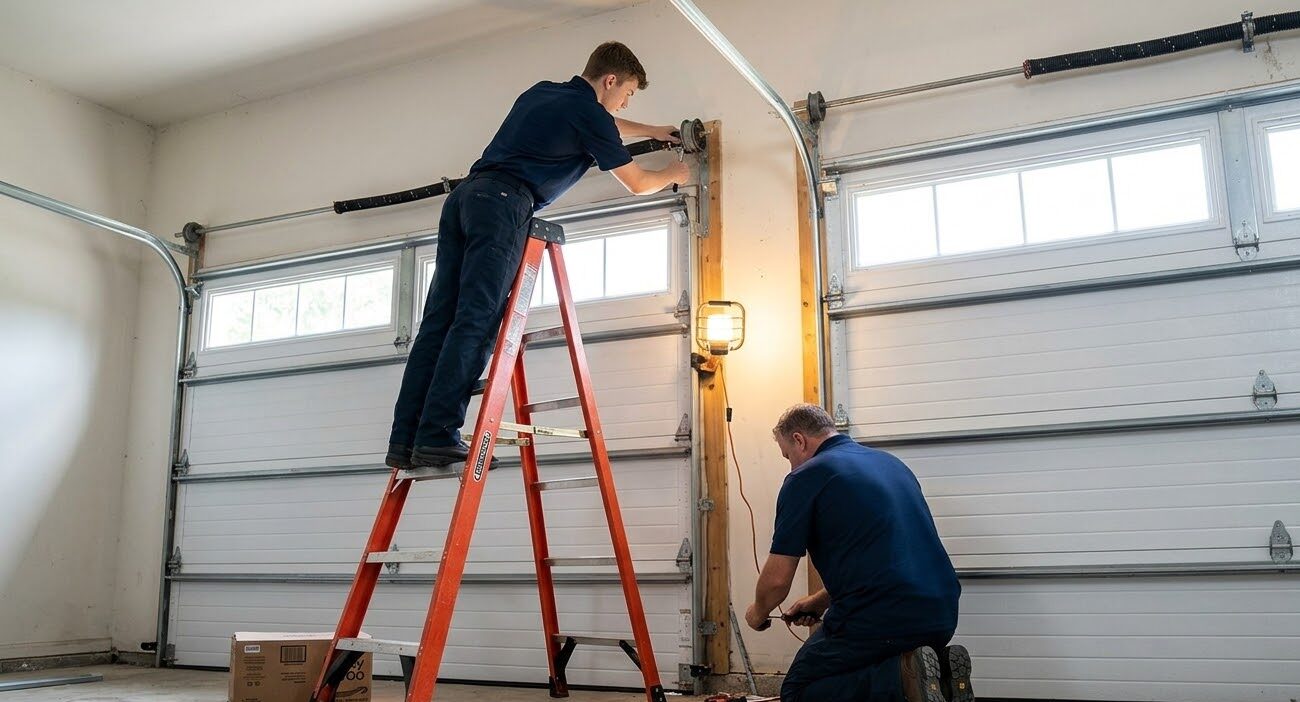
People replace the bottom seal, look along it, see no daylight, and stop. Then the garage is still hot and still full of leaves. The perimeter is why.
Stop molding runs down both jambs and across the header, with a flexible flap that contacts the face of the door. It shrinks, hardens, splits at the fastener holes and pulls away from the jamb, and unlike the bottom seal it does this quietly because nobody looks at it. The test is the same one: close the door, kill the lights inside, and look at the perimeter. A continuous line of daylight up both sides is a large opening in aggregate.
Perimeter stop is a straightforward replacement in its own right, though it involves removing and refastening trim rather than sliding a part into a channel. Doing bottom and perimeter in the same afternoon is the sensible sequence, and it is what weather seal replacement covers as one visit. If the goal is thermal rather than water, insulation and sealing addresses both together.
What It Costs, and When to Just Call
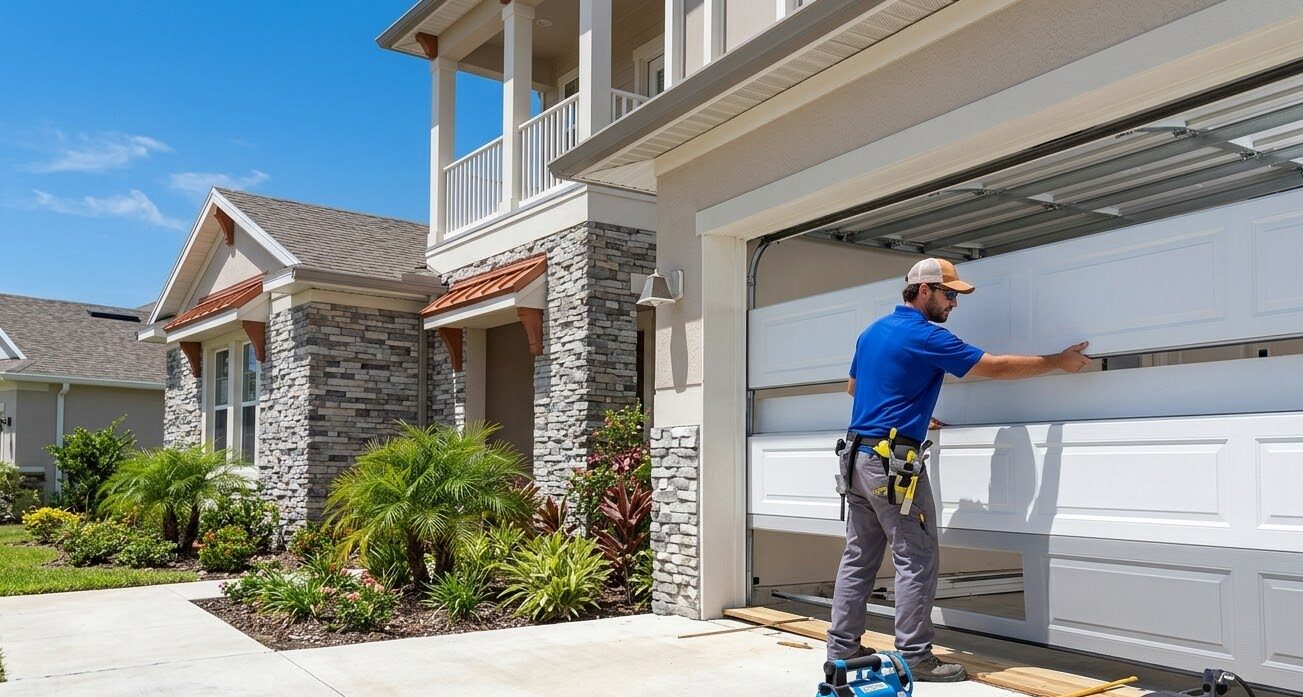
DIY parts for a residential bottom seal generally run $15 to $40. Professional installation of the bottom seal alone typically runs about $120 to $260, and a full weatherstrip package covering bottom seal plus perimeter stop runs roughly $200 to $600 including labor.
The DIY case is strong when the retainer is intact, the door is balanced, the slab is sound and you have a second set of hands. Call somebody when the retainer is damaged or missing, when the door will not hold position halfway, when the bottom bar is bent, when the slab edge needs attention before anything bonds to it, or when the door is tall enough that you would be working off a ladder with a long, floppy part in both hands.
How Often This Comes Around

There is no fixed replacement interval, and anyone quoting one is guessing. The correct trigger is condition: replace when the seal is cracked, flattened, brittle or letting light and water through, and sun exposure is the main variable in how fast that arrives. Inspect annually. In practice, a south or west-facing Florida door runs shorter than the general 5 to 10 year expectation for standard rubber, while EPDM on a shaded door can go well past a decade.
Rocket Garage Door Services works across Polk County, including Lakeland and Winter Haven. If the retainer is shot, the door is out of balance or you want the bottom, sides and threshold handled in one visit, bottom seal replacement is the service, and you can reach us at (863) 624-3191 or through our contact page.


